Archive for January, 2008

Bamboo Batting

Saturday, January 5th, 2008

While wandering around JoAnn’s yesterday, I noticed a new product: Bamboo quilt batting. Actually it is 50% bamboo and 50% organic cotton. It was more expensive than some–$13.99 for a 60″ by 60″ crib quilt/art quilt size.

I found some more info on the Fairfield website (http://www.poly-fil.com/batting.asp). The quilting distance is listed at 8″ and the shrinkage is 2-3%. There are instructions about pre-shrinking the batting. The major drawback is that the pre-shrinking does not include the washing machine or the dryer.

I expect we will find some information about this at the Chicago Quilt Festival. In the meantime, the few reviews I found through Google were positive.

Not-Circus-Fabric Quilt Preview

Wednesday, January 2nd, 2008

I have begun working on the quilt for Kyle and Jill’s baby, gender unknown, due March 20. I have decided to use the collection of 5 coordinating flannels that Marty gave me some time ago. As you can see, they are not circus fabrics, as I thought when I tried to describe them to Marty. Which may explain why Marty had trouble remembering them.

fabric

I have decided on a simple 4-patch design, using both versions of the focus fabric, using two of the coordinating fabrics for 4-patch blocks, and using the stripe fabric as a border.

preview

I don’t think it will be the cutest baby quilt I have ever made, but I think it works. And it is certainly bright. When I started to lay this out, it quickly became apparent that a solid color inner border will be needed between the quilt itself and the stripe fabric. In fact, I may go with two solid borders, one blue and one yellow, in addition to the stripe. Or possibly just two solid borders. In proper Crackpot fashion, I’ll cross that bridge when I come to it – and hope I can find the right colors in flannels.

Gift Bag Instructions

Tuesday, January 1st, 2008

Gift Bag Secrets Revealed!

Instructions for the confused, bewildered, and flummoxed. You know who you are…

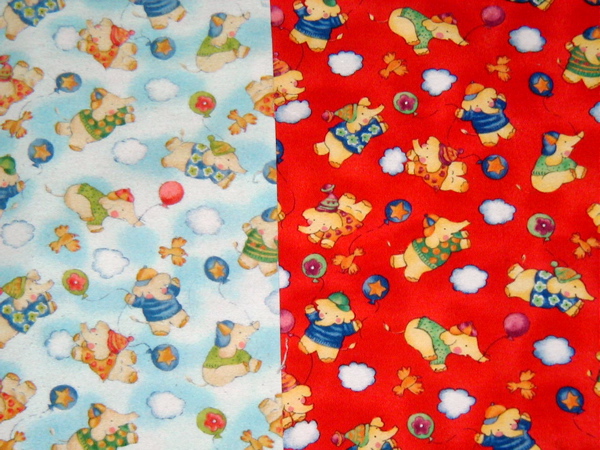
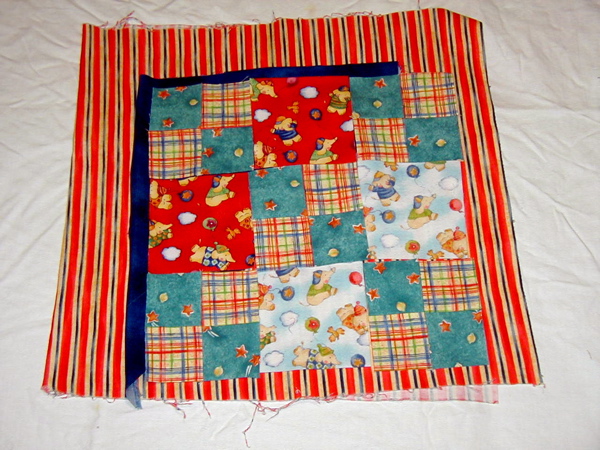
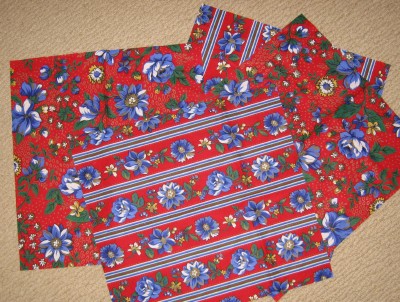
1.Select two coordinating fabrics, one for the bag and one for the lining. The floral is my bag fabric and the floral stripe is my lining fabric.

bag fabric

2.Cut two rectangles from the bag fabric and two rectangles from the lining fabric. These should all be the same size. The size of each rectangle will be ½ inch longer and ½ inch wider than the finished bag. (Note: If you square off the bottom of the bag, as in steps 6, 7, and 8, the bag will seem narrower than your measurements. Make adjustments accordingly.) You can vary the size to fit the gift you want to bag. I am working with a rectangle about 14 inches high and 12 inches wide.

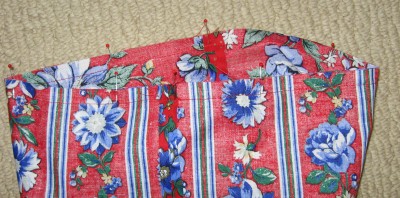
3.Right sides together, stitch the two bag fabric rectangles together along the sides and the bottom. You can stitch in a squared off U shape. A ¼ inch seam is sufficient for quilting weight cottons.

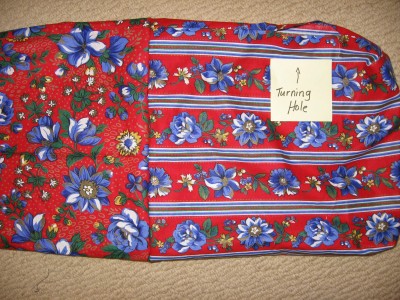
4.Place the bag lining fabric rectangles right sides together. Stitch one side and the bottom. On the second side, you will leave part of the seam open for turning. Stitch up from the bottom a few inches and backstitch. Leave an opening of 2-3 inches. Then backstitch again and stitch up to the top edge.

turning hole

5.Press seams open.

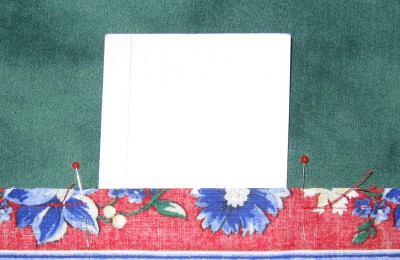
6.With the bag and the lining still inside out, fold the bag so that one side seam is up against the bottom seam and you have a point where the seams meet.

bottom

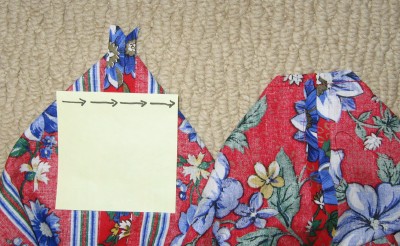
7.Stitch across the point to form the flat bottom of the bag. The size of the flat bottom will be determined by how far from the point you stitch. See your local paper grocery bag for more information. Do this for both corners on the bag and both corners on the lining, keeping the distance from the point the same on each corner.

8.Trim the points off, leaving a ¼ inch seam.

9.Turn the bag right side out, but leave the lining inside out.

10.Put the right side out bag into the inside out lining, having tops together and matching side seams. Pin. Stitch the tops together all the way around with a ¼ inch seam.

bag top

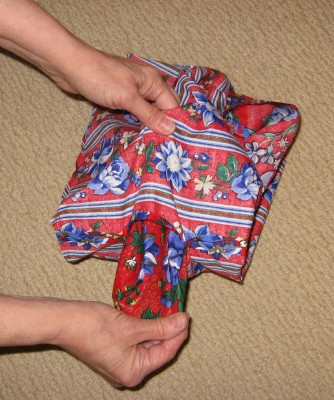
11.This is the confusing, bewildering, and flummoxing part: Reach in through the turning hole in the side seam of the lining and pull the bag through.

right side turn

right side out

12.This is the secret part: Slipstitch the opening closed. (Look for it on your bag.) Or hire aliens to do it. Or if you are making 24 very small bags for baby shower favors, pin the seam closed, raw edges inside, and topstitch the opening closed just on the lining side of the seam allowance. This will be visible on the inside.

13.Push the lining back into the bag and press the top edge.

14.Add a tie by stitching a ribbon through all layers along one seamline. For a reversible bag, put a tie on the inside, too.

done

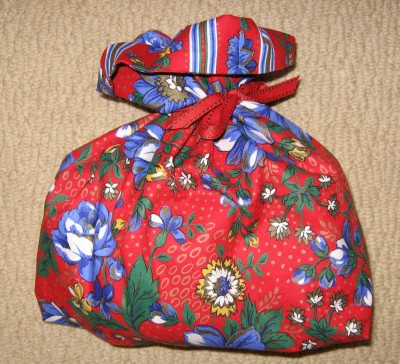
15.Fill with fabric, chocolate or a combination of both and celebrate!

First FO of 2008!

Tuesday, January 1st, 2008

I’m pleased to present my first finished object of 2008, my Hillswick Lumber Fair Isle sweater. I won’t even pretend that this sweater was started in 2008, since the first post about it is from May, 2007. All I did today was attach the buttons, which I purchased yesterday.

Sweater in use:
Hillswick Lumber being worn
Please excuse my “it’s a holiday and I’m not going anywhere so I haven’t showered yet” hairdo and the awful bathroom lighting. The main things to notice in this photo are:

* The sweater fits!
* The stripes on the body and sleeves align nicely when I’m wearing the sweater.

Some detail shots:
Hillswick Lumber Torso2

Hillswick Lumber Inside

I knit the size Small as it appears in the pattern, with one alteration – I lengthened the sleeves. I’m really glad I did – you can see in the in-use picture that they’re the perfect length. My theory is that because these sweaters are often worn with a lot of ease (far more than I wanted – some patterns I’ve seen have 10″ of ease over the bust measurement!), the extra body width essentially becomes sleeve length. Because I chose a size with less ease than perhaps was intended in the pattern (about 4″), I needed to lengthen the sleeves to accommodate this. That, or I’ve got monkey arms.